
Last updated November 4, 2026
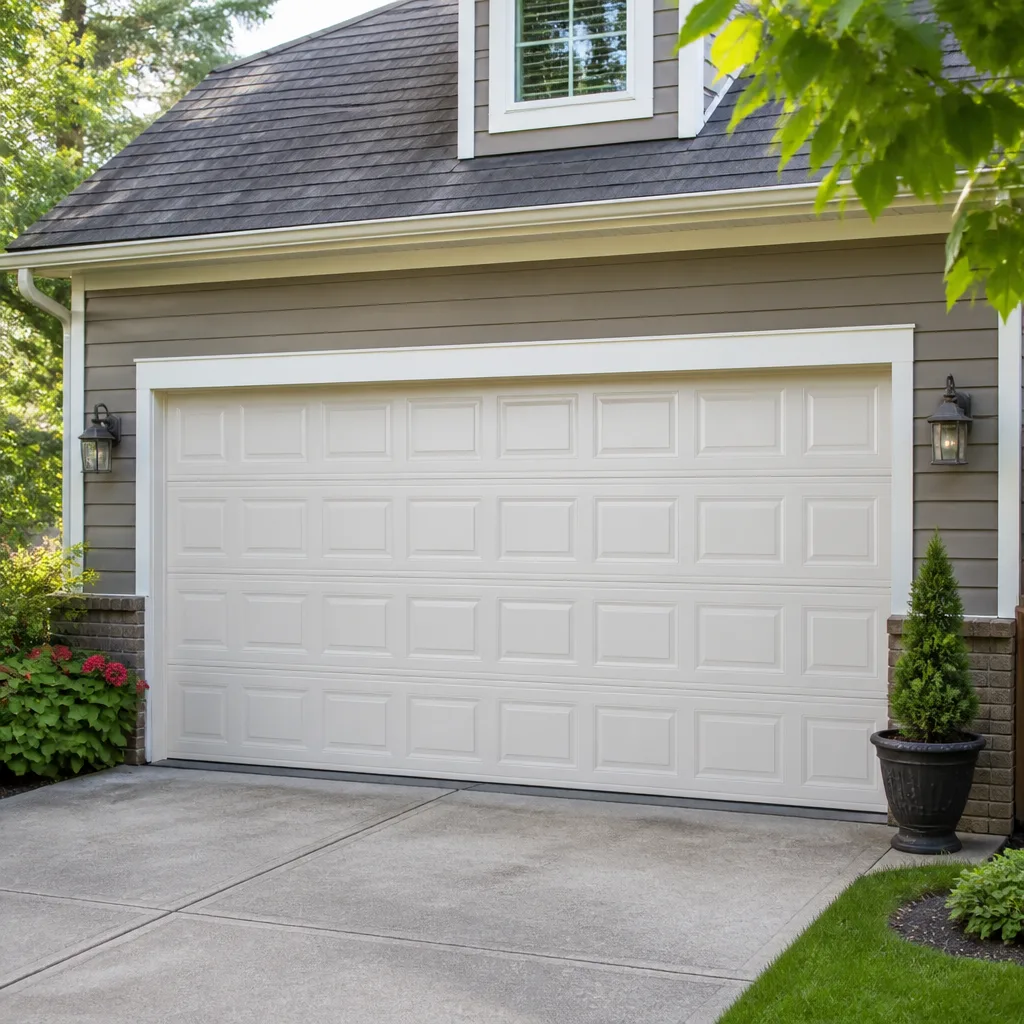 Raised-panel steel
 Carriage house
 Modern flush
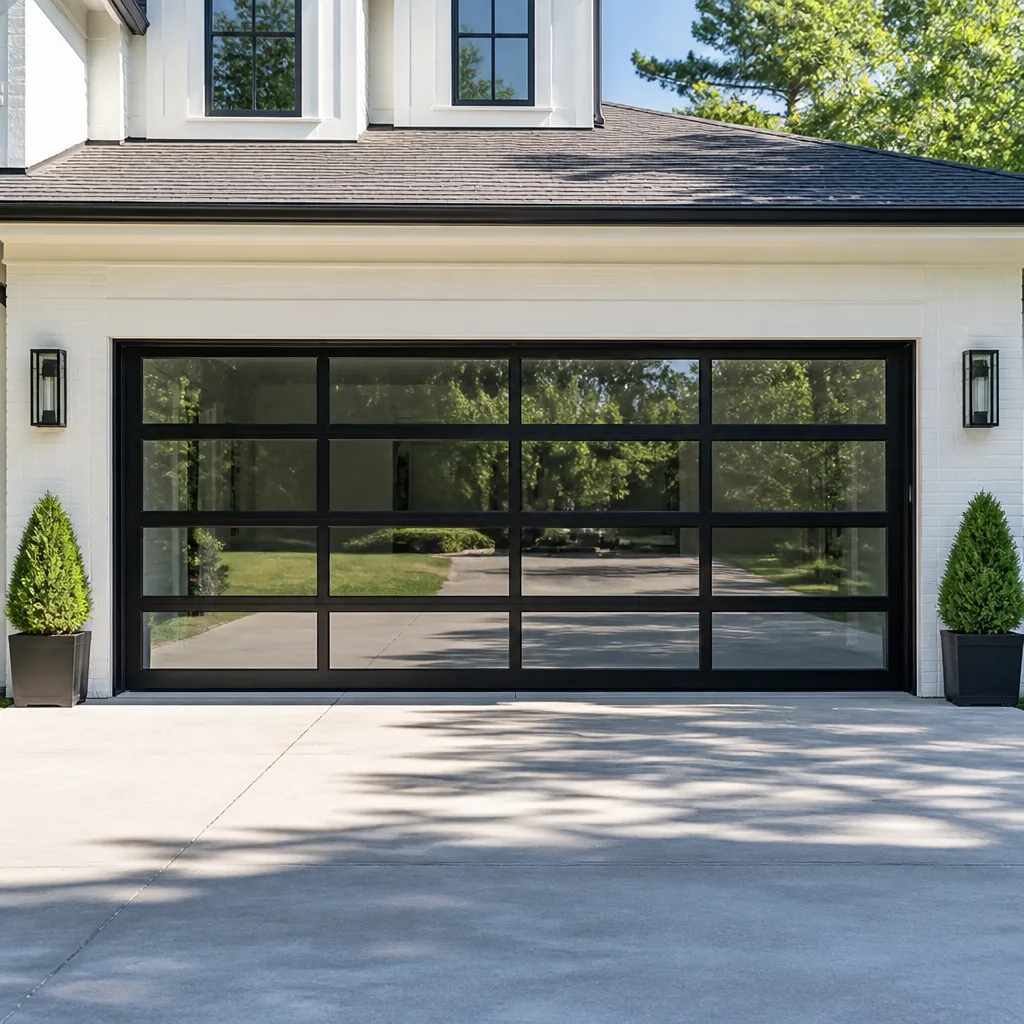 Full-view glass
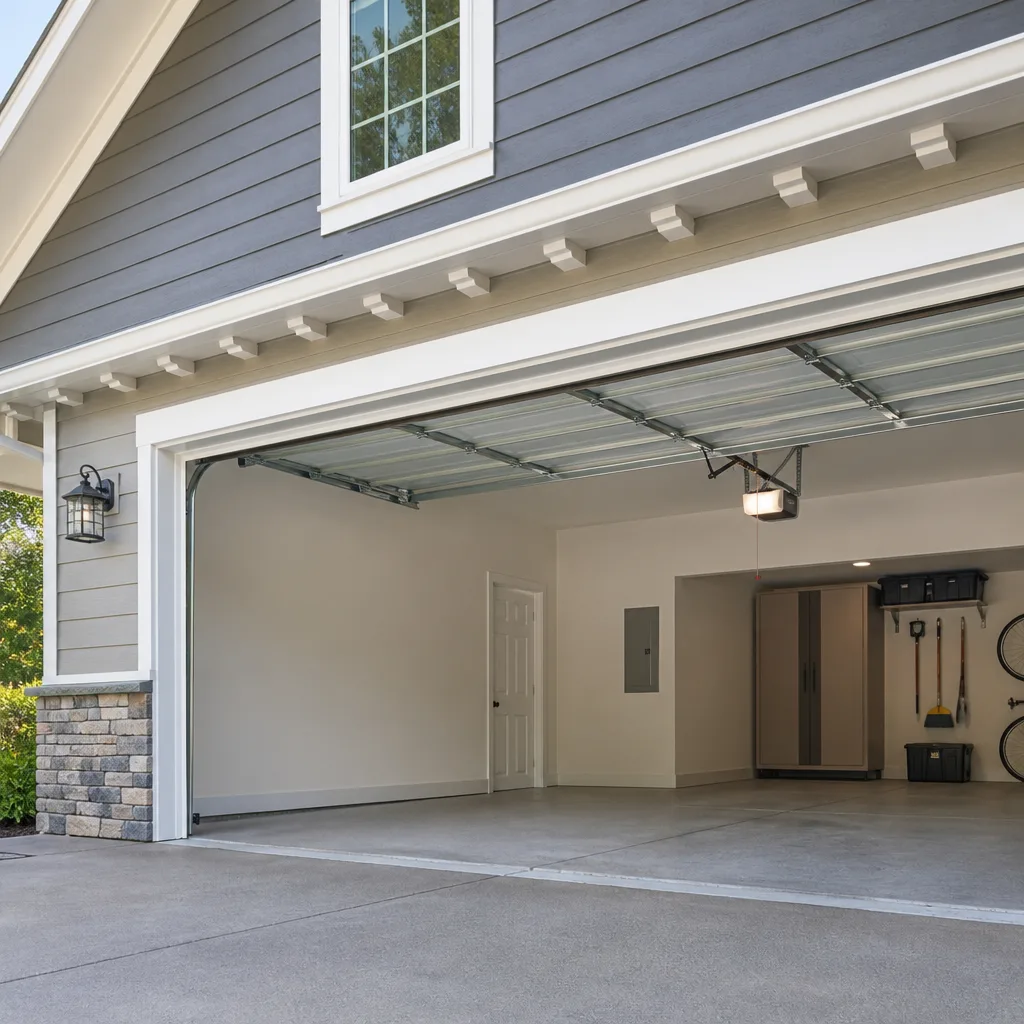 LiftMaster openers
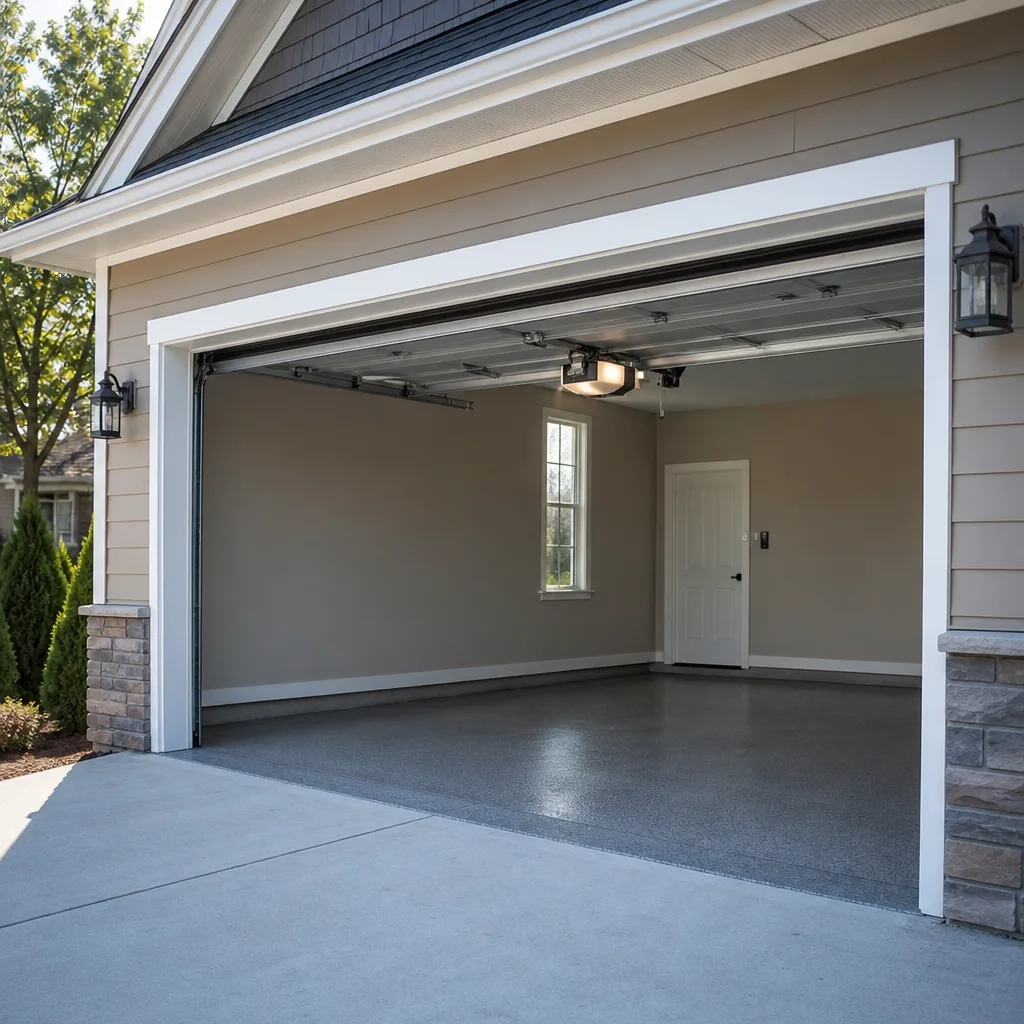 Chamberlain openers
Full 25-point door and opener safety check with every visit - springs, cables, rollers, tracks, and your LiftMaster or Chamberlain opener included
You get a price before we start. It does not change when the truck arrives.
Get your free estimateGarage Door Repair Maintenance Checklist for Alhambra Homeowners
The number one cause of avoidable emergency garage door calls in Southern California isn’t a broken spring. It’s a lubricant that dried out six months ago and nobody noticed until the opener motor burned itself out trying to move a door that had quietly turned stiff. Homeowners across Alhambra call us expecting a major repair, and more often than we’d like, the root cause was something a 20-minute maintenance pass could have caught. This guide is sequenced by what actually fails first in our climate, not by what looks good on a generic checklist. You’ll learn what to check, in what order, what you can safely handle yourself, and exactly when to stop and call a technician.
Styles & brands we work with
- Raised-panel steel
- Carriage house
- Modern flush
- Full-view glass
- LiftMaster openers
- Chamberlain openers
Quick Answer
A garage door maintenance checklist for Alhambra homeowners should be done twice a year and follows this order: lubricate moving parts with a lithium-based grease or silicone spray, inspect springs and cables visually from the floor, test the auto-reverse and photo-eye sensors, tighten hardware, check door balance, and listen for changes during operation. The homeowner handles lubrication and basic visual checks. Spring repairs, cable replacements, and opener motor work are professional jobs.
Table of Contents
- Why Most Maintenance Checklists Fail in Alhambra
- What You’ll Need Before You Start
- The Monthly vs. Biannual Task Split
- Lubrication, Done the Right Way for Our Temperature Range
- How to Inspect Torsion Springs Safely From the Floor
- Testing Auto-Reverse and Photo-Eye Sensors to Current Standards
- Door Balance and Hardware Checks
- Opener Maintenance: What Keeps the Motor Alive
- Common Mistakes to Avoid
- When to Call a Professional
- Frequently Asked Questions
- The Bottom Line
Why Most Maintenance Checklists Fail in Alhambra
Most maintenance checklists you find online are written for a national audience. That means they include steps for freeze-thaw cycles, snow load, and ice damage. None of that applies here. Alhambra has mild winters, dry summers, and consistent temperature swings between cool nights and warm afternoons. What does apply is thermal cycling: metal expands during the day and contracts at night. Over years, that repeated movement works against the spring steel and cable strands on your door. The springs on an average Alhambra garage door cycle through tension changes thousands of times a year just from normal use, and the temperature swings add fatigue stress on top of that.
The failure pattern we see in this area is predictable: roller bearings dry out first, then hinges get stiff, then the opener motor works harder to compensate, and eventually either the motor burns out or a spring lets go. A checklist sequenced by failure frequency catches the dry rollers before they become a motor replacement. This guide follows that order. We work on the brand you already have, whether that’s a garage door repair on a Clopay door or an opener issue on a LiftMaster unit. The maintenance steps below apply to every major brand, but the sequencing is specific to what actually breaks first here.
In our experience, the Alhambra homes with the fewest emergency calls are not the ones with the newest doors. They’re the ones where somebody spends 30 minutes twice a year going through a sensible checklist. That person usually catches a worn part early, gets a garage door opener repair or a spring replacement scheduled on their own timeline, and never has to make the 7 a.m. call asking if we can come today.
What You’ll Need Before You Start
Gather these items before you begin. Everything on this list is available at any hardware store in Alhambra or online. You do not need specialized tools for the homeowner-level tasks in this guide.
- Lithium-based grease or white lithium spray (do not use WD-40; details in the lubrication section below)
- Silicone spray lubricant for rollers and hinges
- A clean rag for wiping old grease and grime
- A 7/16-inch wrench or socket for checking hinge bolts and hardware (most residential doors use 7/16-inch fasteners; check yours before buying)
- A step ladder if you need to reach higher hardware (keep both feet on the ladder, never lean against the door)
- A notebook or phone to log what you did and when
We do not recommend buying a torsion spring winding tool kit unless you are already trained to use one. Torsion springs are under constant high tension and are the one component on your door that can cause serious injury if handled incorrectly. Visual inspection from the floor is safe. Adjusting, replacing, or winding a torsion spring is not a homeowner task.
The Monthly vs. Biannual Task Split
The most useful way to think about garage door maintenance is to separate what you do frequently from what you do seasonally. In Alhambra, the climate does not force a harsh winter shutdown or a summer prep season, so a simple twice-a-year schedule works well. Pick two dates roughly six months apart. Many Alhambra homeowners tie the check to daylight saving time changes, which is easy to remember.
Monthly Tasks (5-10 minutes)
- Watch and listen to the door open and close once, standing inside the garage. Note any new squeaks, grinding, or hesitation.
- Look at the rollers (the wheels that ride in the tracks) while the door moves. If any roller is wobbling, cracking, or not spinning, it’s wearing out.
- Check the area around the door bottom for debris, leaves, or objects that could interfere with the seal or the safety sensors.
- Press the wall button and the remote to confirm both work reliably.
Biannual Tasks (30-45 minutes)
- Lubricate rollers, hinges, springs, and the opener rail (full instructions below).
- Visually inspect torsion springs, extension springs, and cables from the floor.
- Test auto-reverse and photo-eye sensors per current UL 325 standards.
- Check and tighten hardware: hinge bolts, track brackets, opener mounting bolts.
- Check door balance by disconnecting the opener and manually operating the door.
- Inspect the weather seal at the bottom of the door and replace it if it’s cracked or brittle.
That monthly list is intentionally short. The point is that a compressed monthly routine is more likely to actually get done. The biannual list is deeper and catches problems that develop slowly. If you miss a month, don’t skip ahead; just do the next scheduled check.
Lubrication, Done the Right Way for Our Temperature Range
The most common maintenance mistake in Alhambra is using WD-40 on garage door parts. WD-40 is a water displacer and a light penetrant, not a lubricant. It will quiet a squeak temporarily, then dry out and leave the metal with less lubrication than it had before. In our temperature range, with frequent warm afternoons and cool nights, a thin penetrant evaporates even faster than it would in a cooler climate. That leaves hinges and rollers running metal-on-metal, which is exactly what grinds down the parts and strains the opener motor.
For garage door use, you want one of two products:
- White lithium grease is the right choice for metal-on-metal contact points: hinge pins, torsion spring coils, and the opener rail. It stays in place, resists drying out, and handles the temperature range Alhambra sees without thinning or hardening.
- Silicone spray is the right choice for nylon rollers and for the rubber weather seal, because it lubricates without degrading plastic or rubber. It’s also good for the hinges on doors with nylon bushings.
Apply lubricant sparingly. A little goes a long way, and too much grease attracts dust and grime, which turns into a paste that accelerates wear. Wipe off any excess with a clean rag. After lubricating a hinge or roller, operate the door two or three times to distribute the lubricant through the full range of motion.
The torsion spring itself should get a light coat along its length, focusing on the coils. Do not spray the spring with so much lubricant that it drips. Do not attempt to touch or adjust the spring. You’re only applying a film to the outside of the coil, not changing its tension.
Skip the opener rail if you’ve never done this before? Actually, no. The opener rail on a Chamberlain or LiftMaster unit is one of the easiest things to lubricate and one of the most commonly skipped. A dry rail forces the opener carriage to work harder, which shortens motor life. A thin bead of white lithium grease along the rail, wiped to a light film, is all it needs. If you have a belt-drive opener, check your manual; some belt systems are designed to run dry and do not need rail lubrication.
How to Inspect Torsion Springs Safely From the Floor
Torsion springs are the coils mounted on a shaft above the door, parallel to the top edge. Extension springs are the long springs running above the horizontal tracks on both sides. Both types store enormous tension. The safe way to inspect them is visual only: stand inside the garage with the door closed (closed is safer because the door is not suspended overhead) and look.
Do not touch the springs. Do not stand on a ladder near the spring shaft. Do not loosen any bolts on the spring assembly. A torsion spring under tension can release violently, and that release is the source of the most serious garage door injuries. This is the part of the checklist where the only tool you need is your eyes.
What to Look For
- A visible gap in the coil. Torsion springs are made from a single continuous coil of steel. On most doors, you can see a thin dark line along the side of the coil. A gap that has widened to the width of a pencil lead or more means that spring is failing. That’s typically a gap of about 1/8 inch.
- Rust or pitting on the spring surface. Some surface rust is normal on older doors, deep pitting or flaking is a fatigue sign. A spring with visible pitting has weakened metal and is closer to the end of its service life.
- Change in the shape of the coil. A torsion spring should look like a uniform, evenly-spaced coil. A spring that appears uneven, with some coils stretched apart and others compressed, may have started to deform.
- Extension spring: a stretched or sagging look. An extension spring that hangs loosely or shows gaps where coils have separated is failing. On an older Raynor or Craftsman door, these are common replacement candidates.
If you see any of these signs, the spring is not safe to keep using indefinitely. A spring with a visible gap may fail within weeks or months, and when it fails, the door will not open smoothly and may drop hard if the cables disconnect. Call a professional before that happens. Spring replacement is not a homeowner job, but it’s a routine service call, and catching it during a visual check means you schedule the repair rather than waiting for the failure.
Testing Auto-Reverse and Photo-Eye Sensors to Current Standards
Every garage door opener manufactured since 1993 has required an auto-reverse mechanism and photoelectric sensors (often called photo eyes), which are the small units mounted near the floor on both sides of the door opening. The current UL 325 standard, the one your opener was designed to meet, requires the door to reverse when it hits an obstruction and to reverse or stop when the photo-eye beam is interrupted. Testing these once a year is a core safety step, and it takes less than ten minutes.
Photo-Eye Test
- Check that both photo-eye units are lit. Most units have an indicator light. If one or both lights are off or blinking, the beam may be misaligned or a wire may be loose.
- With the door open, press the wall button to close it. As the door moves down, wave an object (a roll of paper towels works) through the path of the photo-eye beam, about two inches off the floor.
- The door should reverse immediately to the open position. If it keeps closing, the photo-eye system is not working correctly.
- If the test failed, check that both units are pointed directly at each other and that no leaves, spider webs, or dirt cover the lenses. Wipe the lenses with a dry cloth. If it still fails, call a technician.
Auto-Reverse Test
- Close the door completely.
- In the center of the door’s path, lay a roll of paper towels flat under the door.
- Press the wall button to open the door.
- Place the paper towel roll in the middle of the path and press the wall button to close the door.
- The door should touch the roll and reverse within two seconds. If the door crushes the roll or fails to reverse, the force setting is wrong and the system is unsafe.
The auto-reverse test specifically checks the opener’s internal pressure sensing, not the photo eyes. Both tests need to pass. If either one fails, unplug the opener and keep the door in manual mode (pull the red release handle) until you can have it serviced. On LiftMaster, Chamberlain, and Genie systems, the force adjustment is a small dial or digital setting on the opener unit, and it is one of the most common things our technicians correct.
Door Balance and Hardware Checks
A balanced door stays in place when opened halfway. An unbalanced door drifts down or jumps up, and that unbalance forces the opener motor to fight the door on every cycle. Over months, that extra load is what kills an opener. The balance test tells you whether the springs are still doing their job.
Balance Test
- Close the door.
- Pull the red release handle to disconnect the opener from the door (you may need to pull down and back, depending on the opener).
- Manually lift the door by its handle until it’s about waist high, roughly halfway.
- Let go. The door should stay in place or move only slightly. A well-balanced door stays. A door that drops or falls means the springs are tired. A door that shoots upward means the springs are too strong or have been incorrectly adjusted.
- Keep hold of the door as you test. If it drifts fast, guide it down and re-engage the opener by pressing the wall button.
If the door fails the balance test, the issue is almost always the springs or the cable. This is a professional diagnosis. Balanced springs are set to a specific tension for your door’s weight and height, and the correction involves working directly with high-tension components.
Hardware checks are simpler. Go around the door with a wrench and check the bolts on every hinge, the track brackets where they fasten to the wall and ceiling, and the opener mounting bolts. In Alhambra, the dry air means rust on hardware is less of an issue than it is near the coast, but daily vibration still works bolts loose. A bolt that has backed out a couple of turns creates play in the door, which over time creates uneven wear. Tighten anything loose. If a track bracket has pulled away from the wall by more than a slight gap, that’s a sign the track is misaligned and needs adjustment.
Opener Maintenance: What Keeps the Motor Alive
The opener motor is the most expensive non-structural part of the system, and it’s also the one that suffers most from neglected maintenance elsewhere. When rollers are dry, when a spring weakens, or when the door is out of balance, the opener does the extra work without complaint until it burns out. What looks like an opener failure is often a side effect. That’s why the maintenance steps earlier in this guide come first.
But the opener also needs direct attention. The rail, as mentioned, should get a light coat of white lithium grease on most chain-drive systems. The motor unit itself should be dusted and kept clear of stored items; a motor that can’t ventilate runs hotter. Test the wall button and the remotes after you’ve finished maintenance, including the outside keypad if you have one.
If your opener is a Wi-Fi or app-enabled LiftMaster or Chamberlain model, check that the firmware is current. App-based models sometimes improve safety features or fix bugs through updates. The manufacturer’s app or website will tell you if an update is available. Our technicians see a lot of older Craftsman openers in Alhambra homes, and most of them are on their second or third decade of daily use. They were well built, but the safety sensors on those older units are more likely to drift out of alignment than the ones on newer models, so the photo-eye test is especially important on those.
If your opener is doing any of the following, it needs professional attention: the door reverses without anything in the way, the motor runs for a few seconds and stops without moving the door, the opener hums but the door doesn’t move, or the remote works only from a very short distance. These are garage door opener repair issues, not maintenance issues. Fast diagnosis, honest recommendation: we repair the opener you already have when repair makes sense.
Common Mistakes to Avoid
- Using WD-40 instead of a real lubricant. WD-40 is a penetrant, not a lubricant. In Alhambra’s dry, warm climate, it evaporates fast and leaves hinges and rollers running dry.
- Lubricating nylon rollers with lithium grease. Lithium grease can degrade nylon over time. Use silicone spray on nylon rollers and keep lithium grease for metal-to-metal points.
- Touching or adjusting a torsion spring. Torsion springs are under tension strong enough to cause serious injury. Visual inspection only, from the floor.
- Skipping the photo-eye test because the door “seems fine.” A door can open and close normally with dead photo-eye sensors. The first sign is often a close call with a child or pet. Test the system, not just the door motion.
- Waiting until the door stops working to do maintenance. By the time the door fails, the repair is almost always more expensive than the maintenance that would have prevented it. That’s true for the opener motor, the springs, and the rollers.
- Replacing the batteries in one remote but not checking the keypad or the second remote. Inconsistent remote performance confuses the diagnosis. Check every input device during a maintenance pass.
- Using pressure-treated lumber or stored items to block the photo-eye beam during a test. The test needs an object that breaks the beam cleanly. A roll of paper towels works. A flat board can reflect the beam in unpredictable ways and give a false pass.
When to Call a Professional
Some parts of garage door maintenance are genuinely dangerous to do yourself. Torsion springs, extension springs, cables, and anything bolted to the spring assembly should be left to a trained technician. If your inspection finds a spring with a visible gap, a cable with frayed strands, a door that fails the balance test, or an opener that fails either safety test, the next step is a phone call, not a wrench.
Other signs warrant a professional visit: a door that shakes or shudders during operation, a loud bang that sounded like something snapped, a door that sits crooked when closed, or an opener that runs but doesn’t move the door. None of these have a DIY fix. Garage Door Service Alhambra offers free estimates in Alhambra. Call (833) 620-4887. We answer 24/7. Fast dispatch from 7am to 7pm, Sunday through Friday.
Frequently Asked Questions
Twice a year is the right schedule for Alhambra’s climate. The mild weather means no seasonal shutdown is needed, but the temperature cycling still puts fatigue on springs and cables, so a spring and fall check catches problems early. Monthly, do a five-minute visual and listen pass. If you notice new noises or hesitation, don’t wait for the next scheduled date. Call (833) 620-4887 for a free estimate.
No. WD-40 is a water-displacing penetrant, not a lubricant, and in Alhambra’s dry air it evaporates quickly and leaves parts with less protection than they had before. Use white lithium grease on metal-to-metal contact points and silicone spray on nylon rollers and rubber seals. If you’re unsure which parts need which product, call us and ask.
Look for a visible gap in the coil that has widened to about an eighth of an inch, deep rust pitting, or a coil that looks uneven. A torsion spring with a visible gap is a warning sign that the spring is nearing failure. Do not touch the spring. Visual inspection from the floor is all a homeowner should do. If you see these signs, book a spring replacement before it fails.
A basic maintenance service that includes lubrication, hardware tightening, sensor testing, and a balance check is a one-time service call; the price is set per job by written estimate. If the maintenance finds a worn part, you’ll get a separate quote before any repair work starts. Call (833) 620-4887 for an exact quote. Estimates are free.
Yes. The auto-reverse test uses only a roll of paper towels placed in the door’s path. When the door touches it, the door should reverse within two seconds. The photo-eye test also requires no tools: wave an object through the beam while the door is closing and it should reverse. If either test fails, unplug the opener and call a technician.
No. The price is quoted and agreed before any work starts, and the written estimate sets the final price. If additional work is needed beyond the agreed scope, you’ll get a separate quote and your approval before anything else happens. That’s how Garage Door Service Alhambra works on every job.
The Bottom Line
A garage door maintenance checklist that’s built for Alhambra starts with lubrication, because dry rollers and hinges are the most common avoidable failure we see. Then it moves to the springs and cables, because those are the parts that fail with temperature cycling and cause serious problems when they go. Then it verifies the safety systems, because a door that moves smoothly can still have dead photo-eye sensors and unsafe auto-reverse. Do the monthly five-minute check, the biannual deep pass, and treat anything involving springs, cables, or the opener motor as a professional job. For maintenance, repair, or a second opinion on anything in this guide, call (833) 620-4887 for a free estimate. We answer 24/7. Fast dispatch from 7am to 7pm, Sunday through Friday. We’re here in Alhambra, working on the brand you already have.
Written by the team at Garage Door Service Alhambra, serving Alhambra since 2015.
See the difference
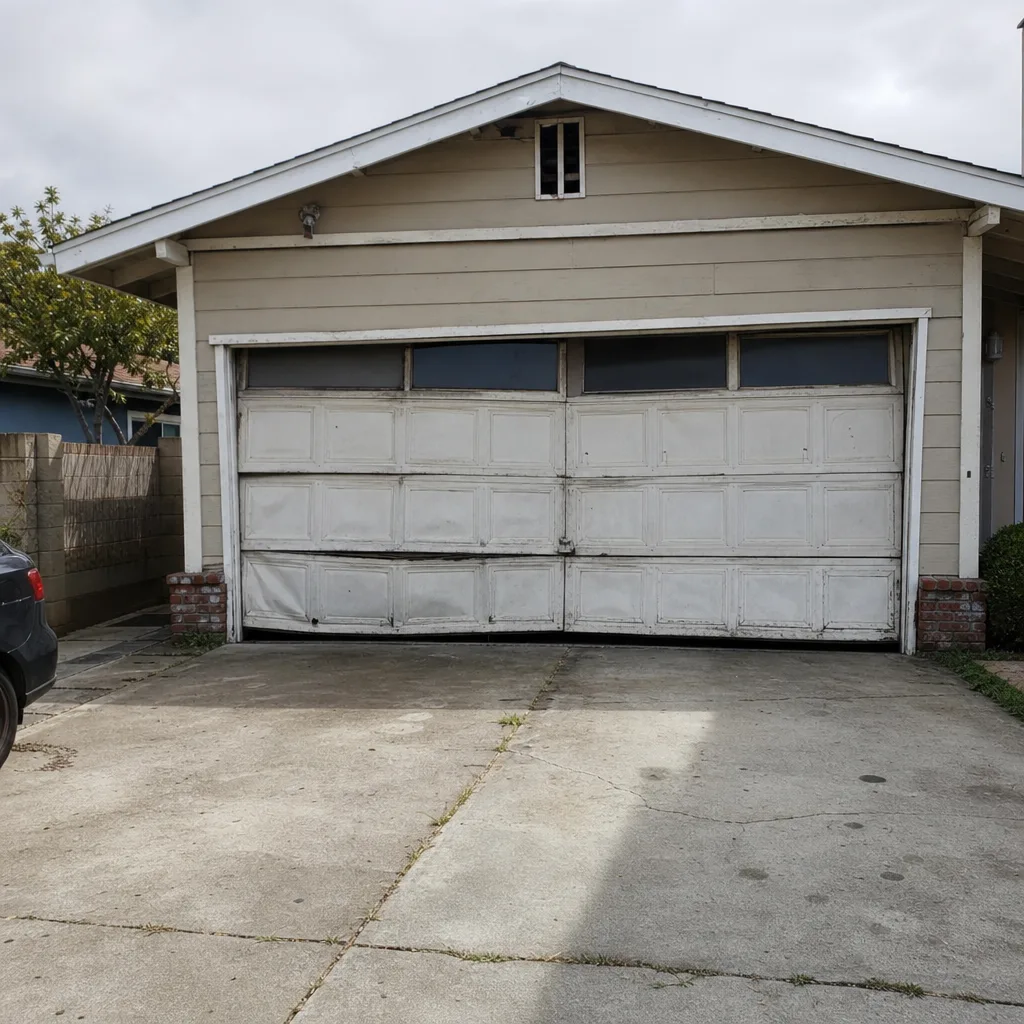 Before
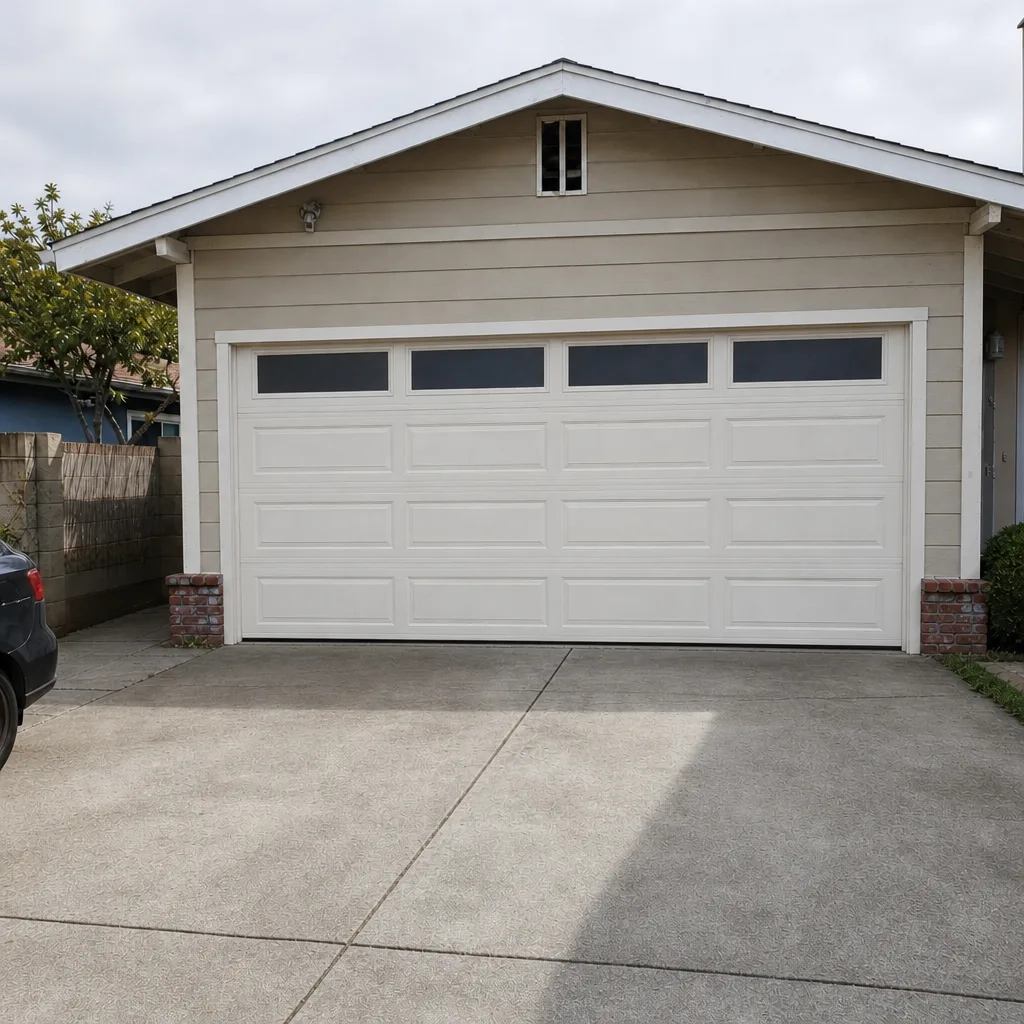 After
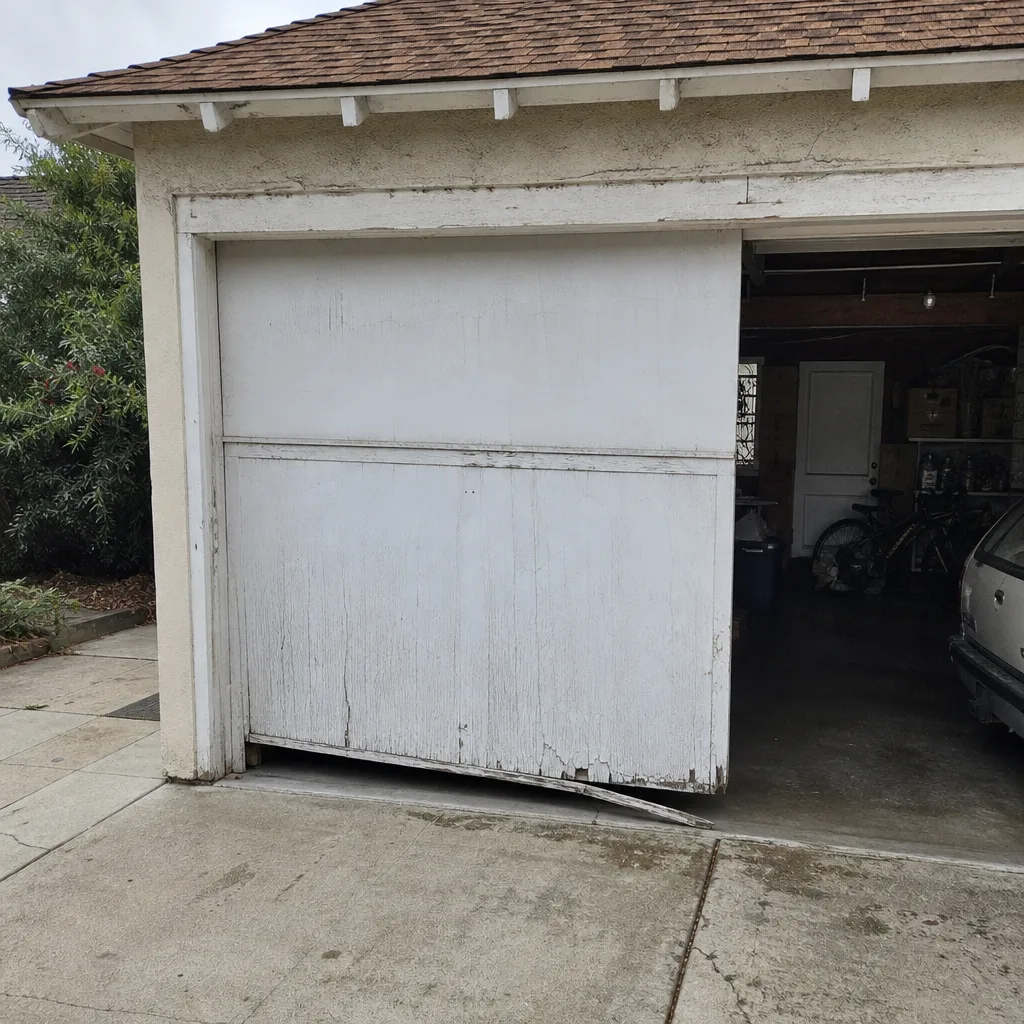 Before
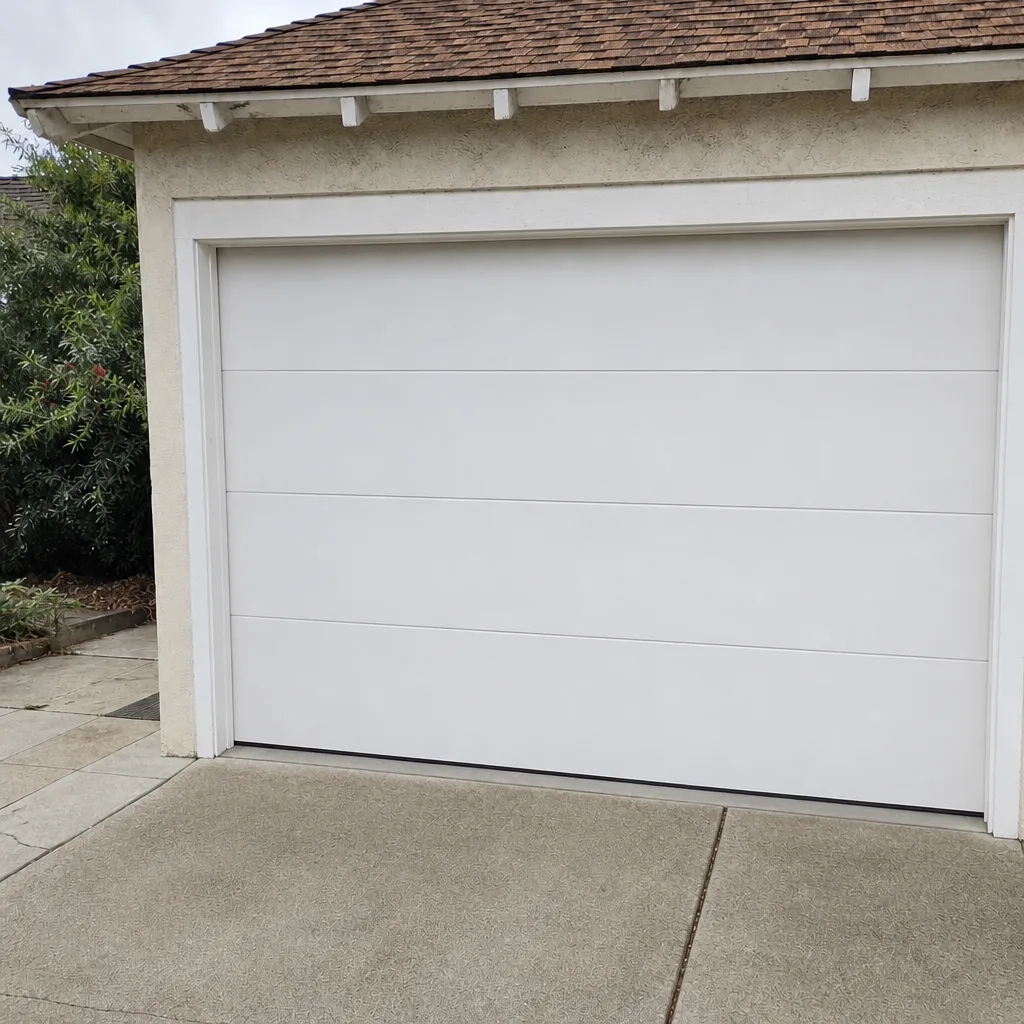 After
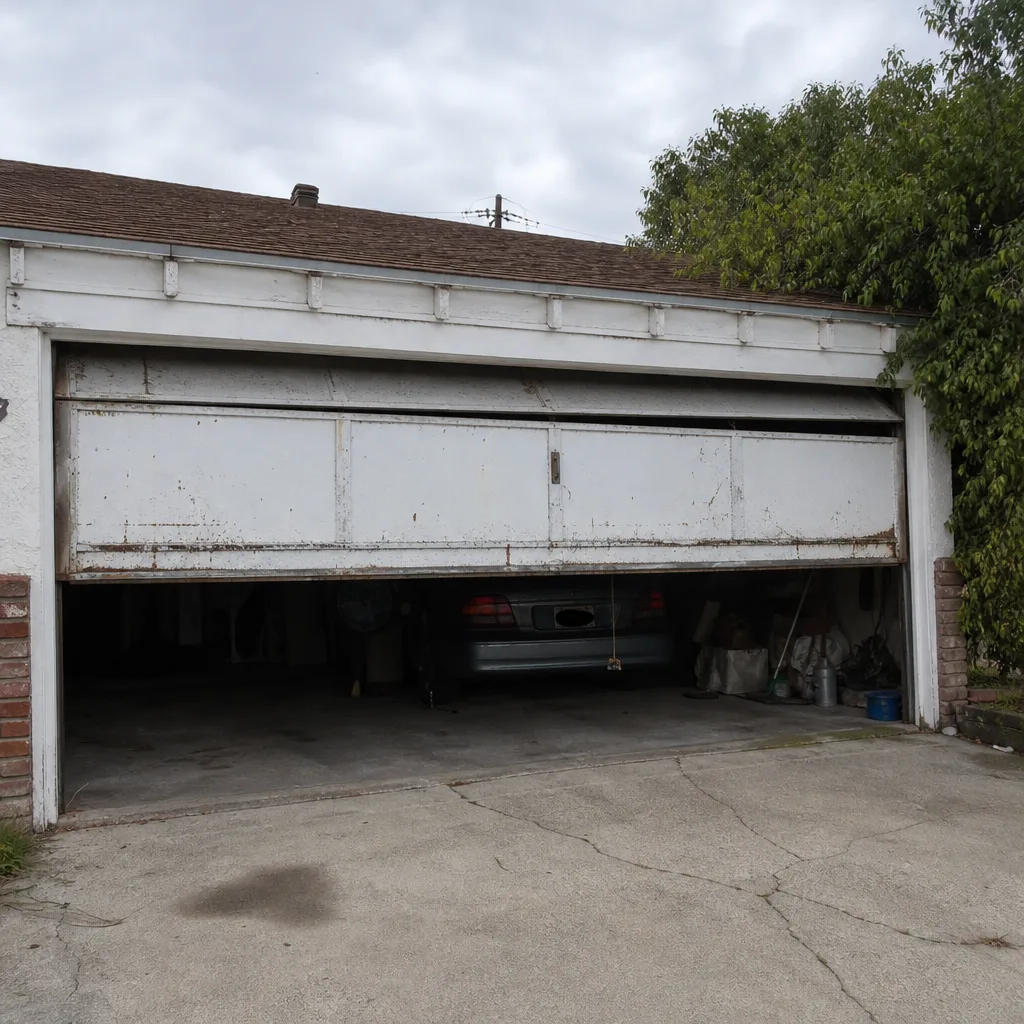 Before
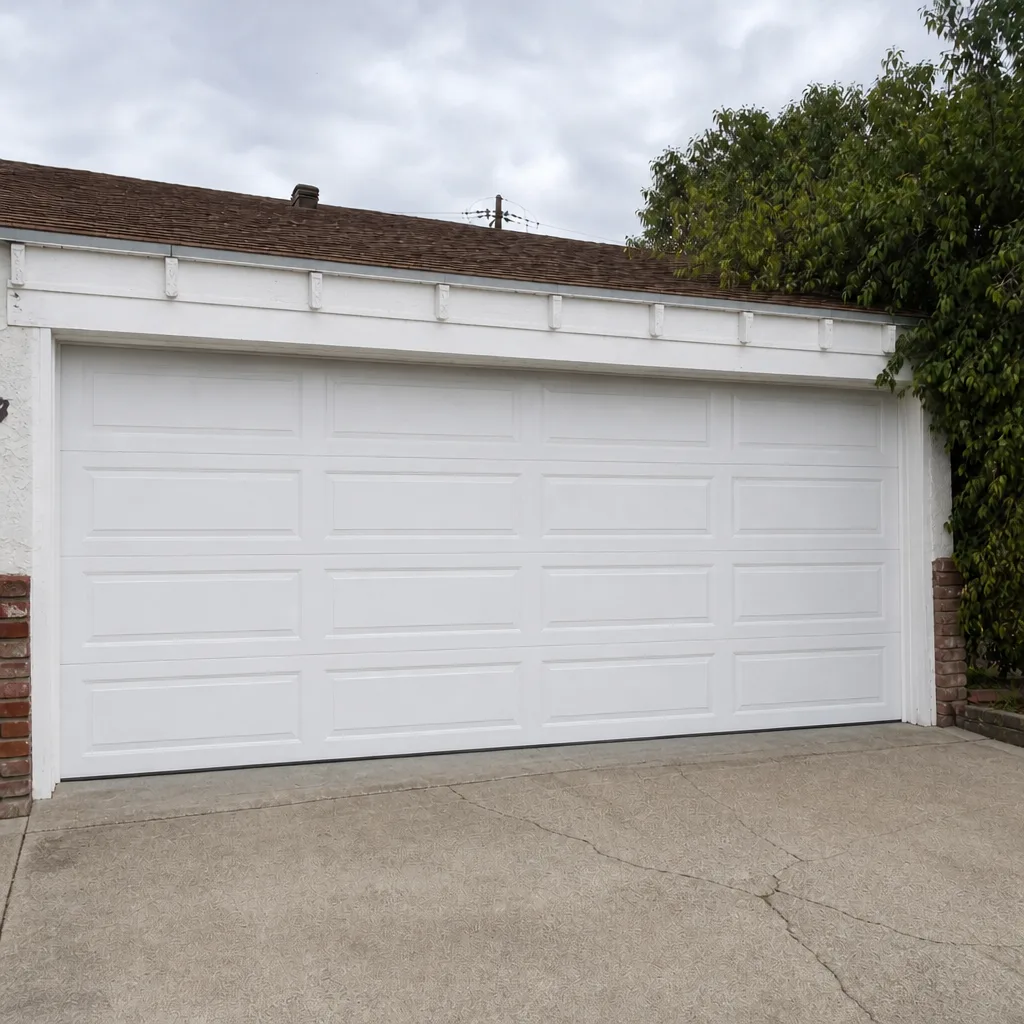 After